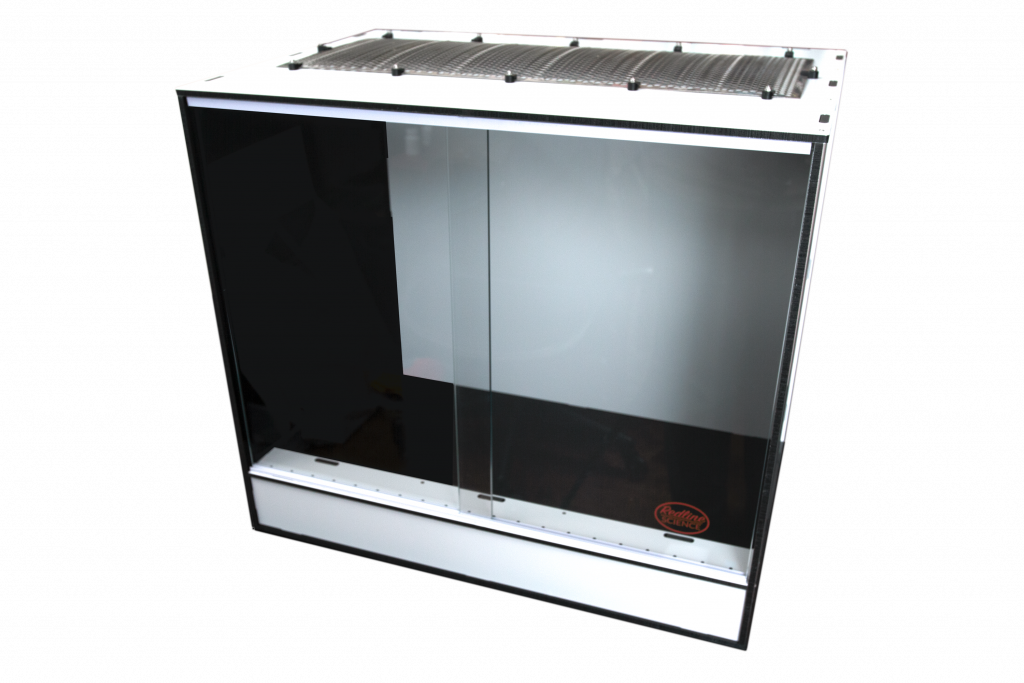
Thank you for choosing Redline Science Biotope! Our Biotope product line is a new and unique offering in the world of next-generation enclosures. The Biotope panels, made from a composite core between two thin aluminum sheets, are dual-color and reversible, allowing for a variety of visual presentations. The Biotope ships flat and is easily assembled, offers dynamic styling, and easy modification. We hope you’ll love these enclosures as much as we do!
Although assembly is rather straightforward, we have provided this document to guide you through the process and to point out some variations and pro-tips to help you get the most out of your Redline Science Biotope.
Preparation
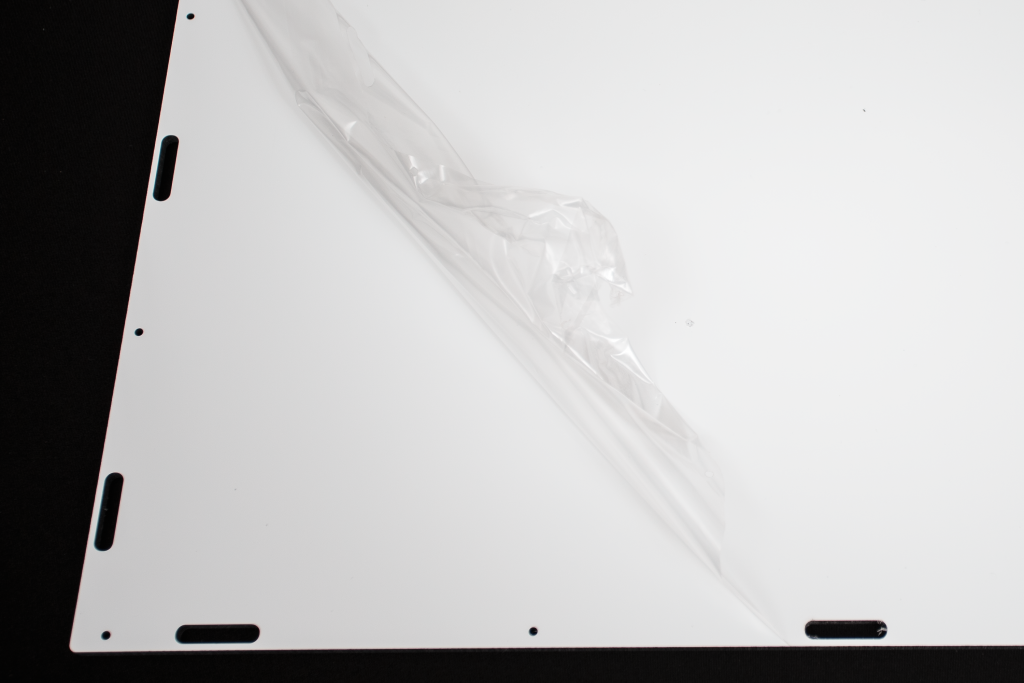
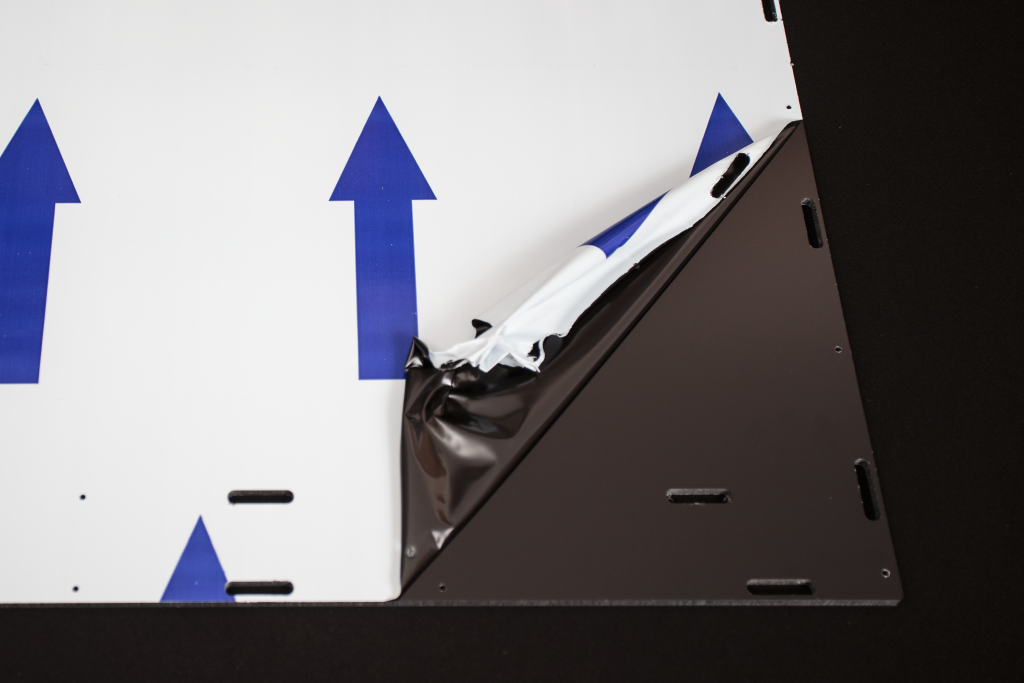
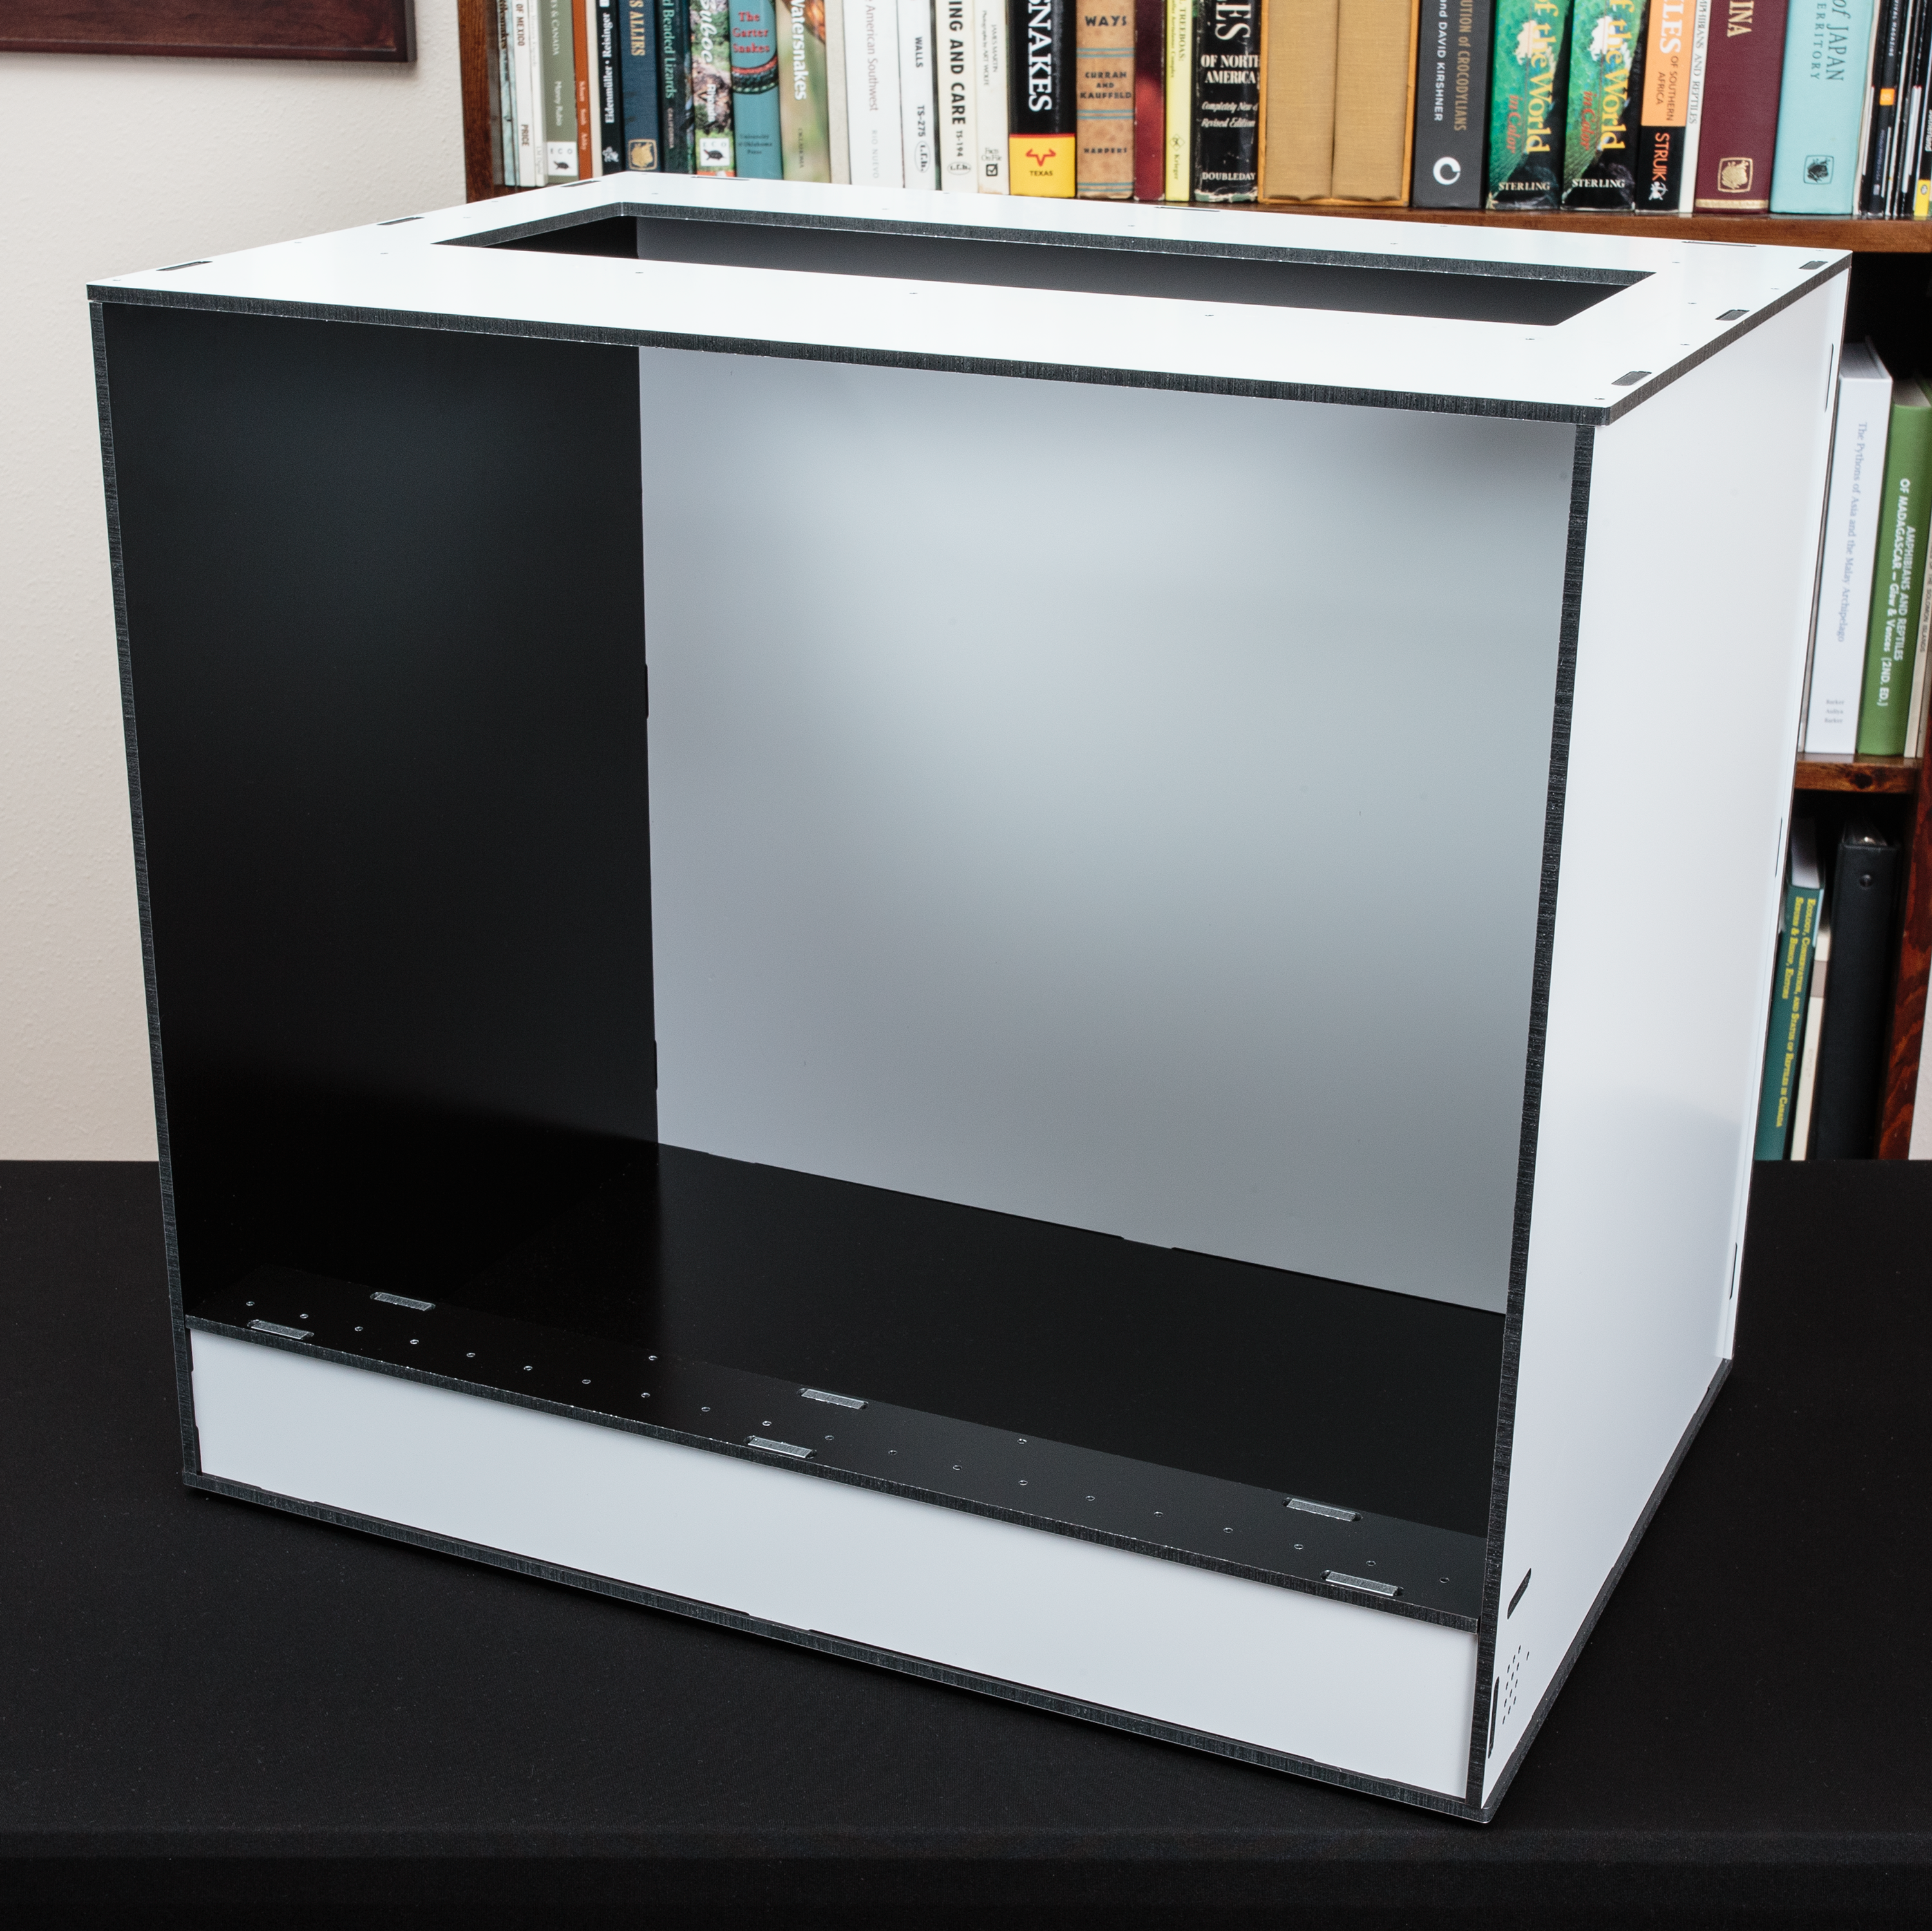
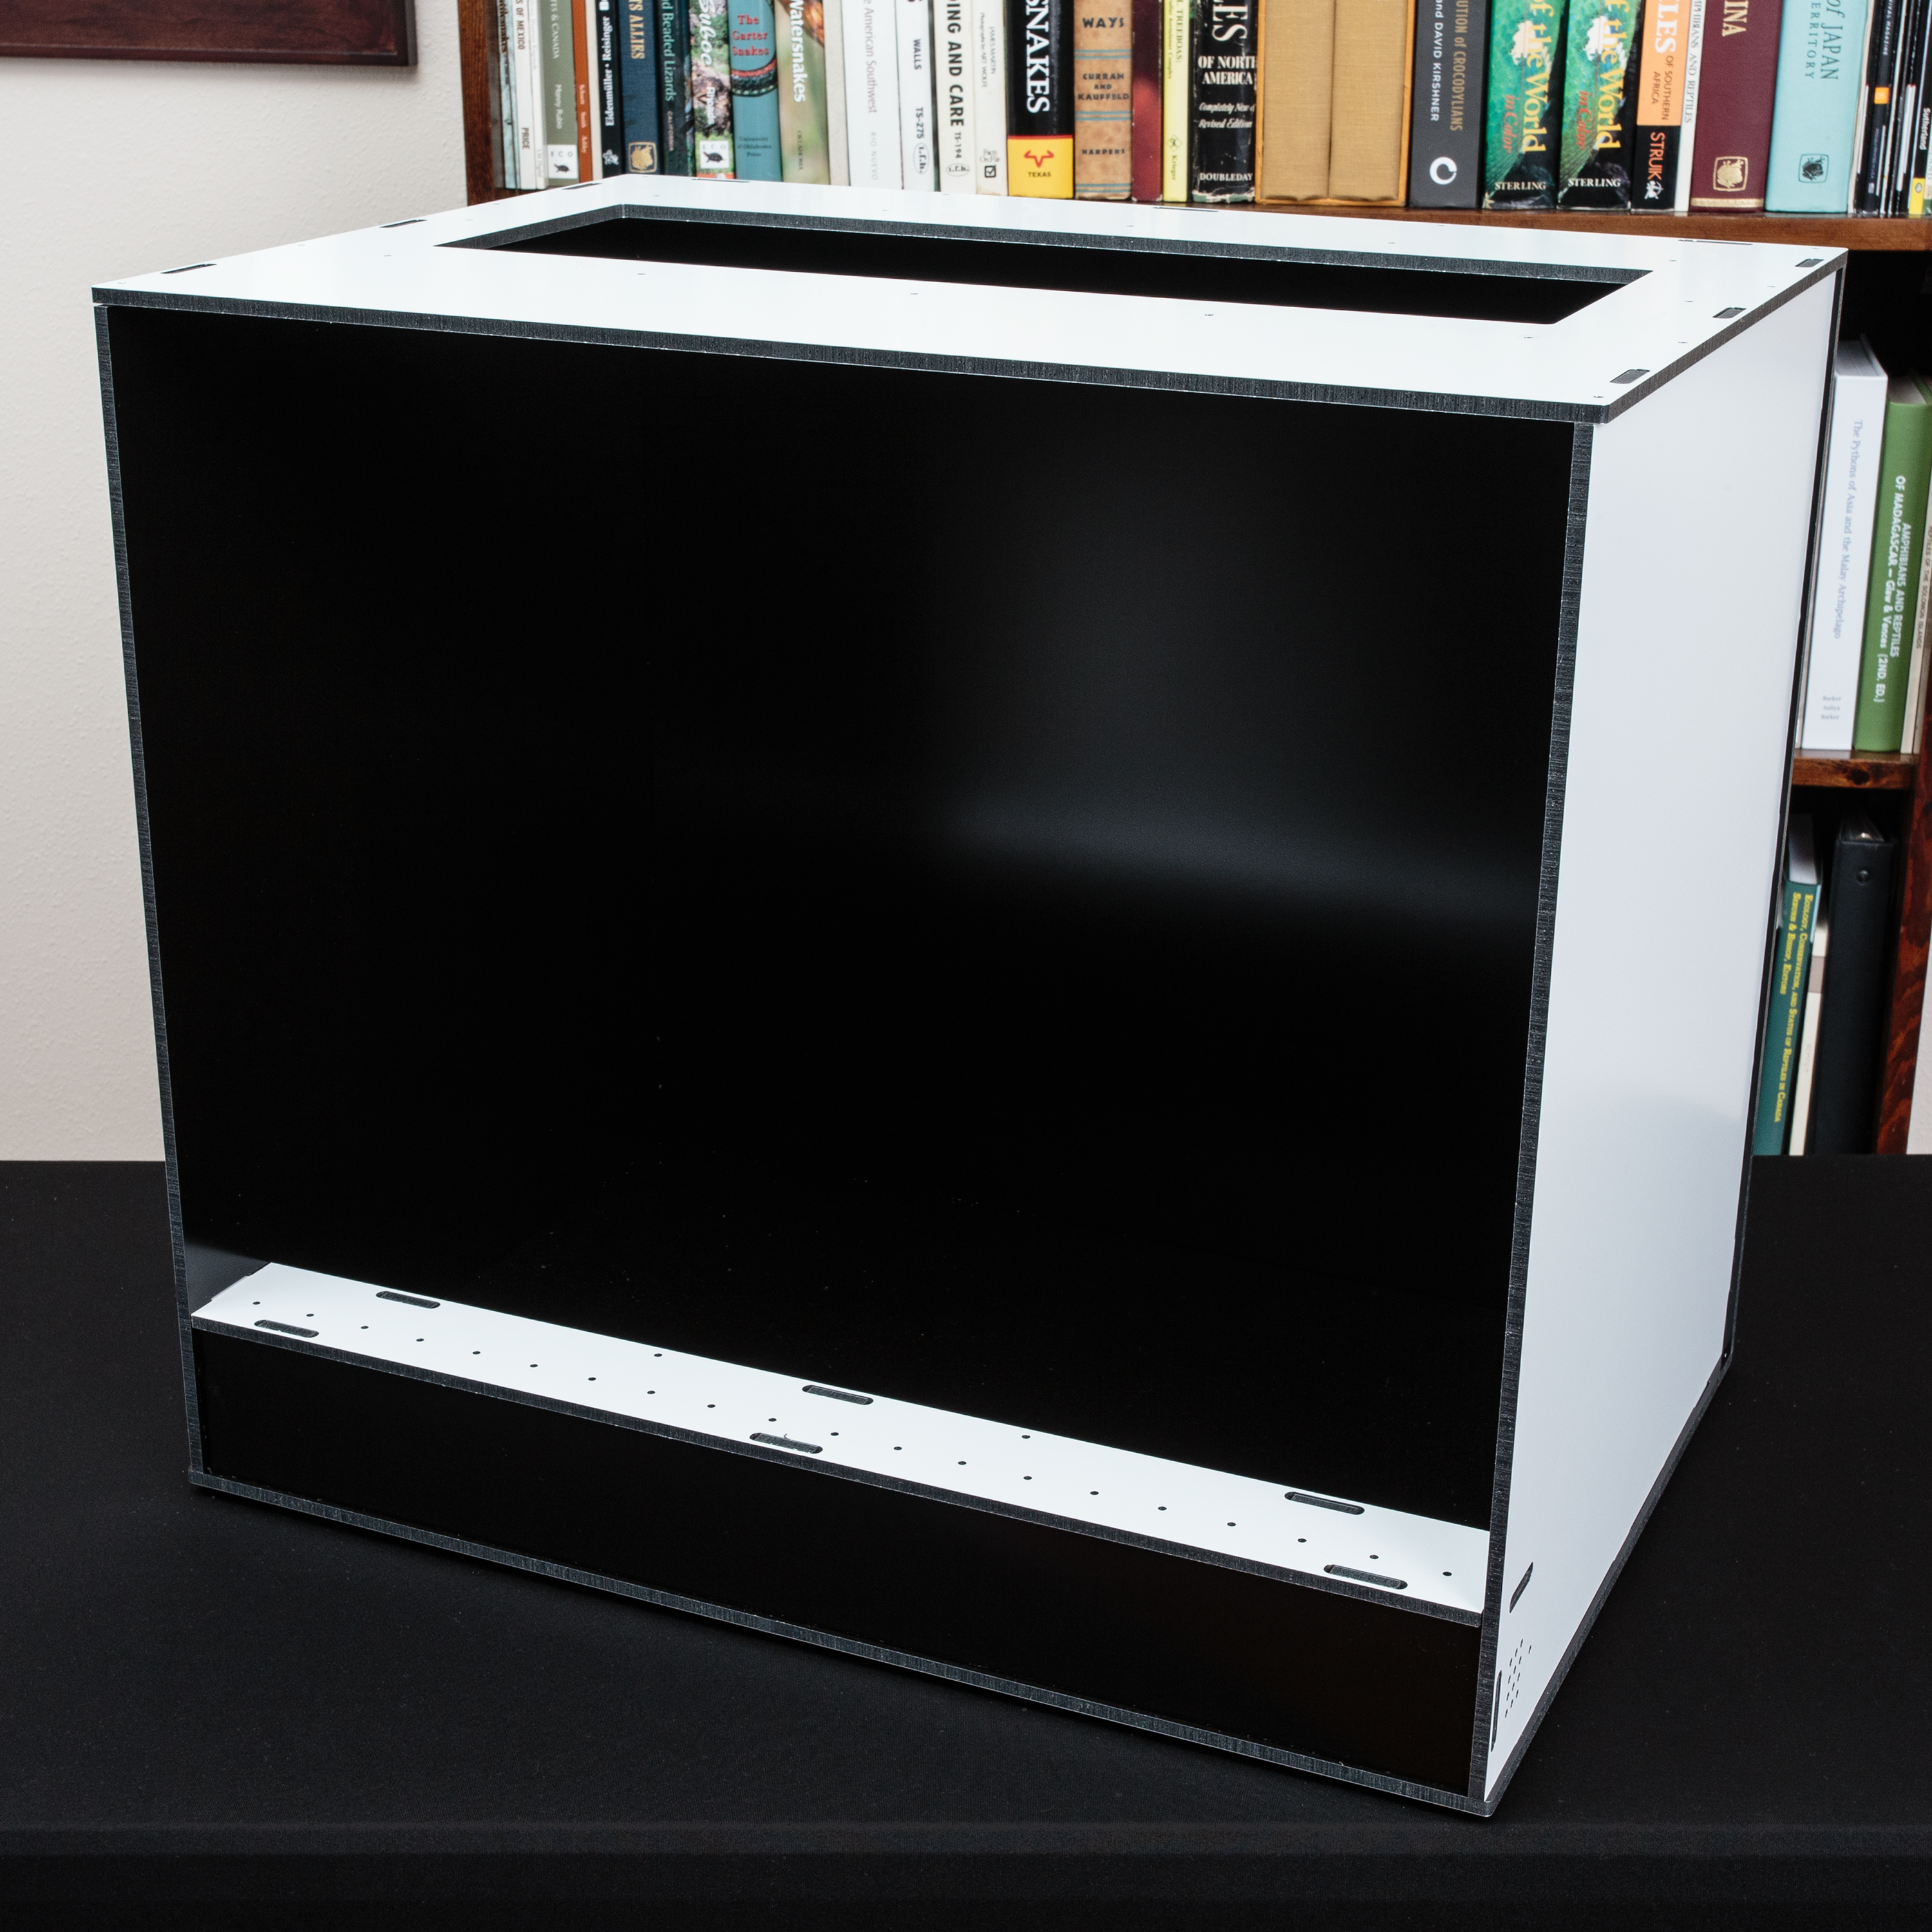
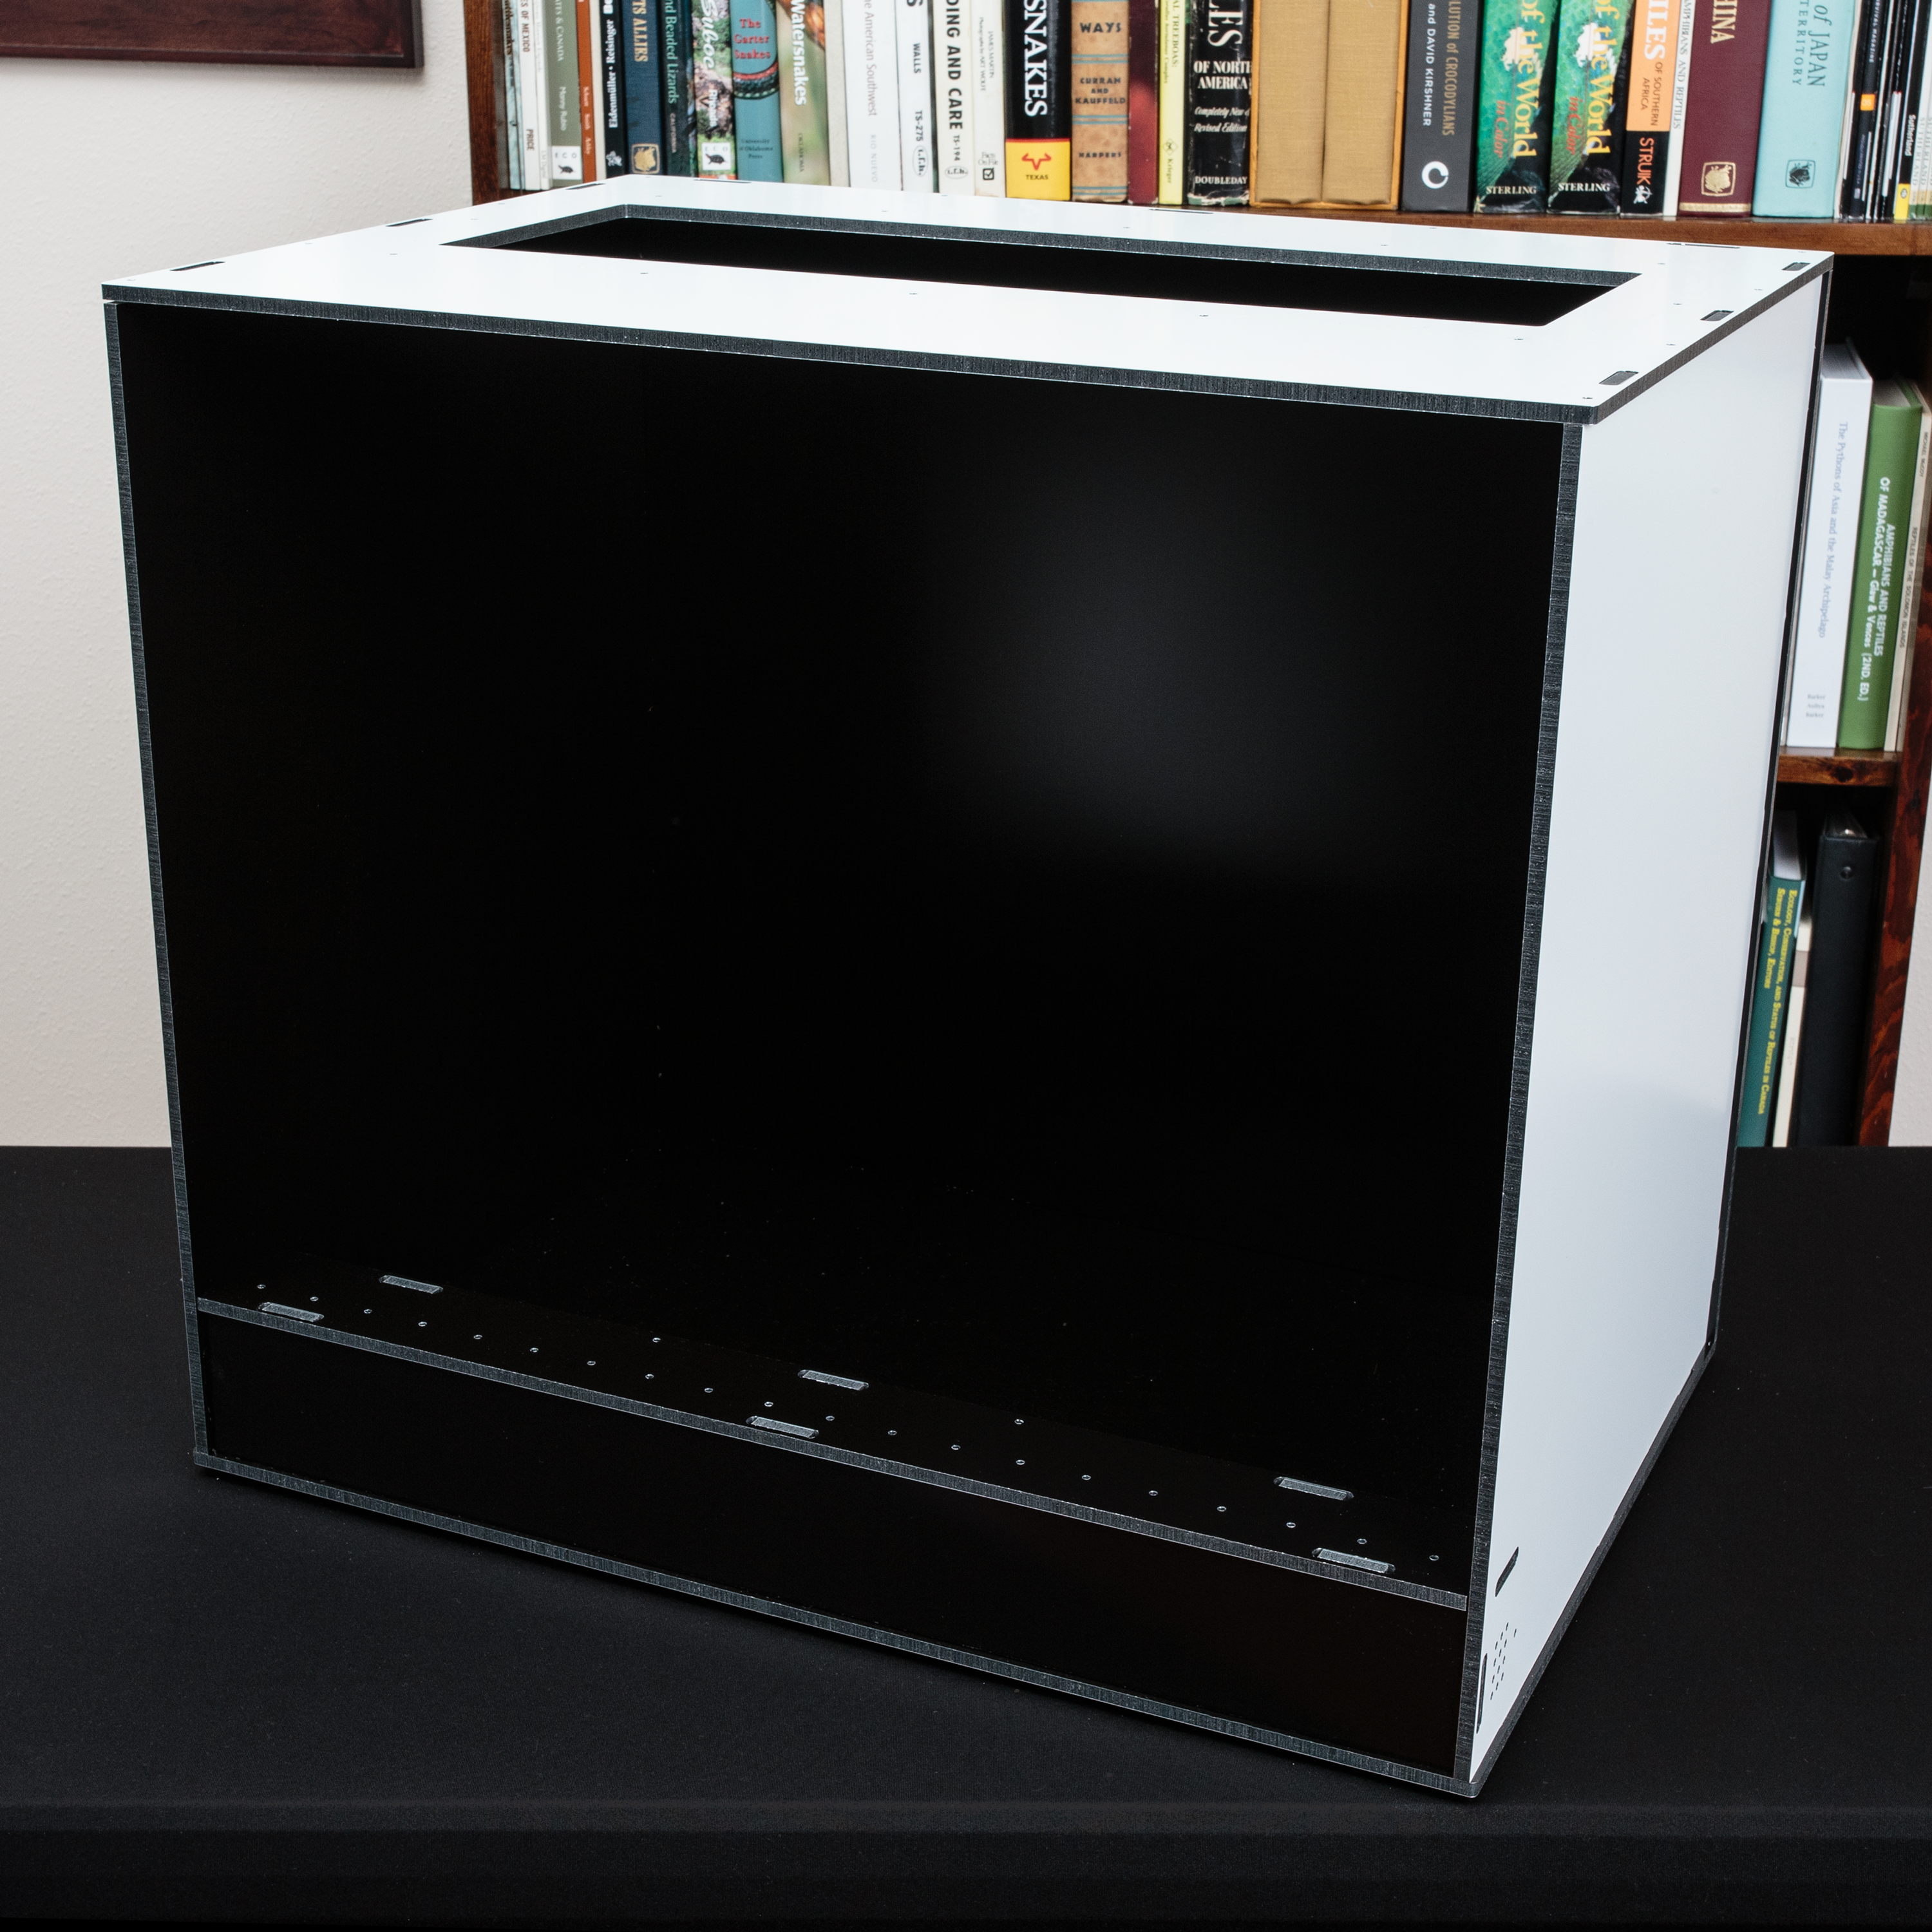
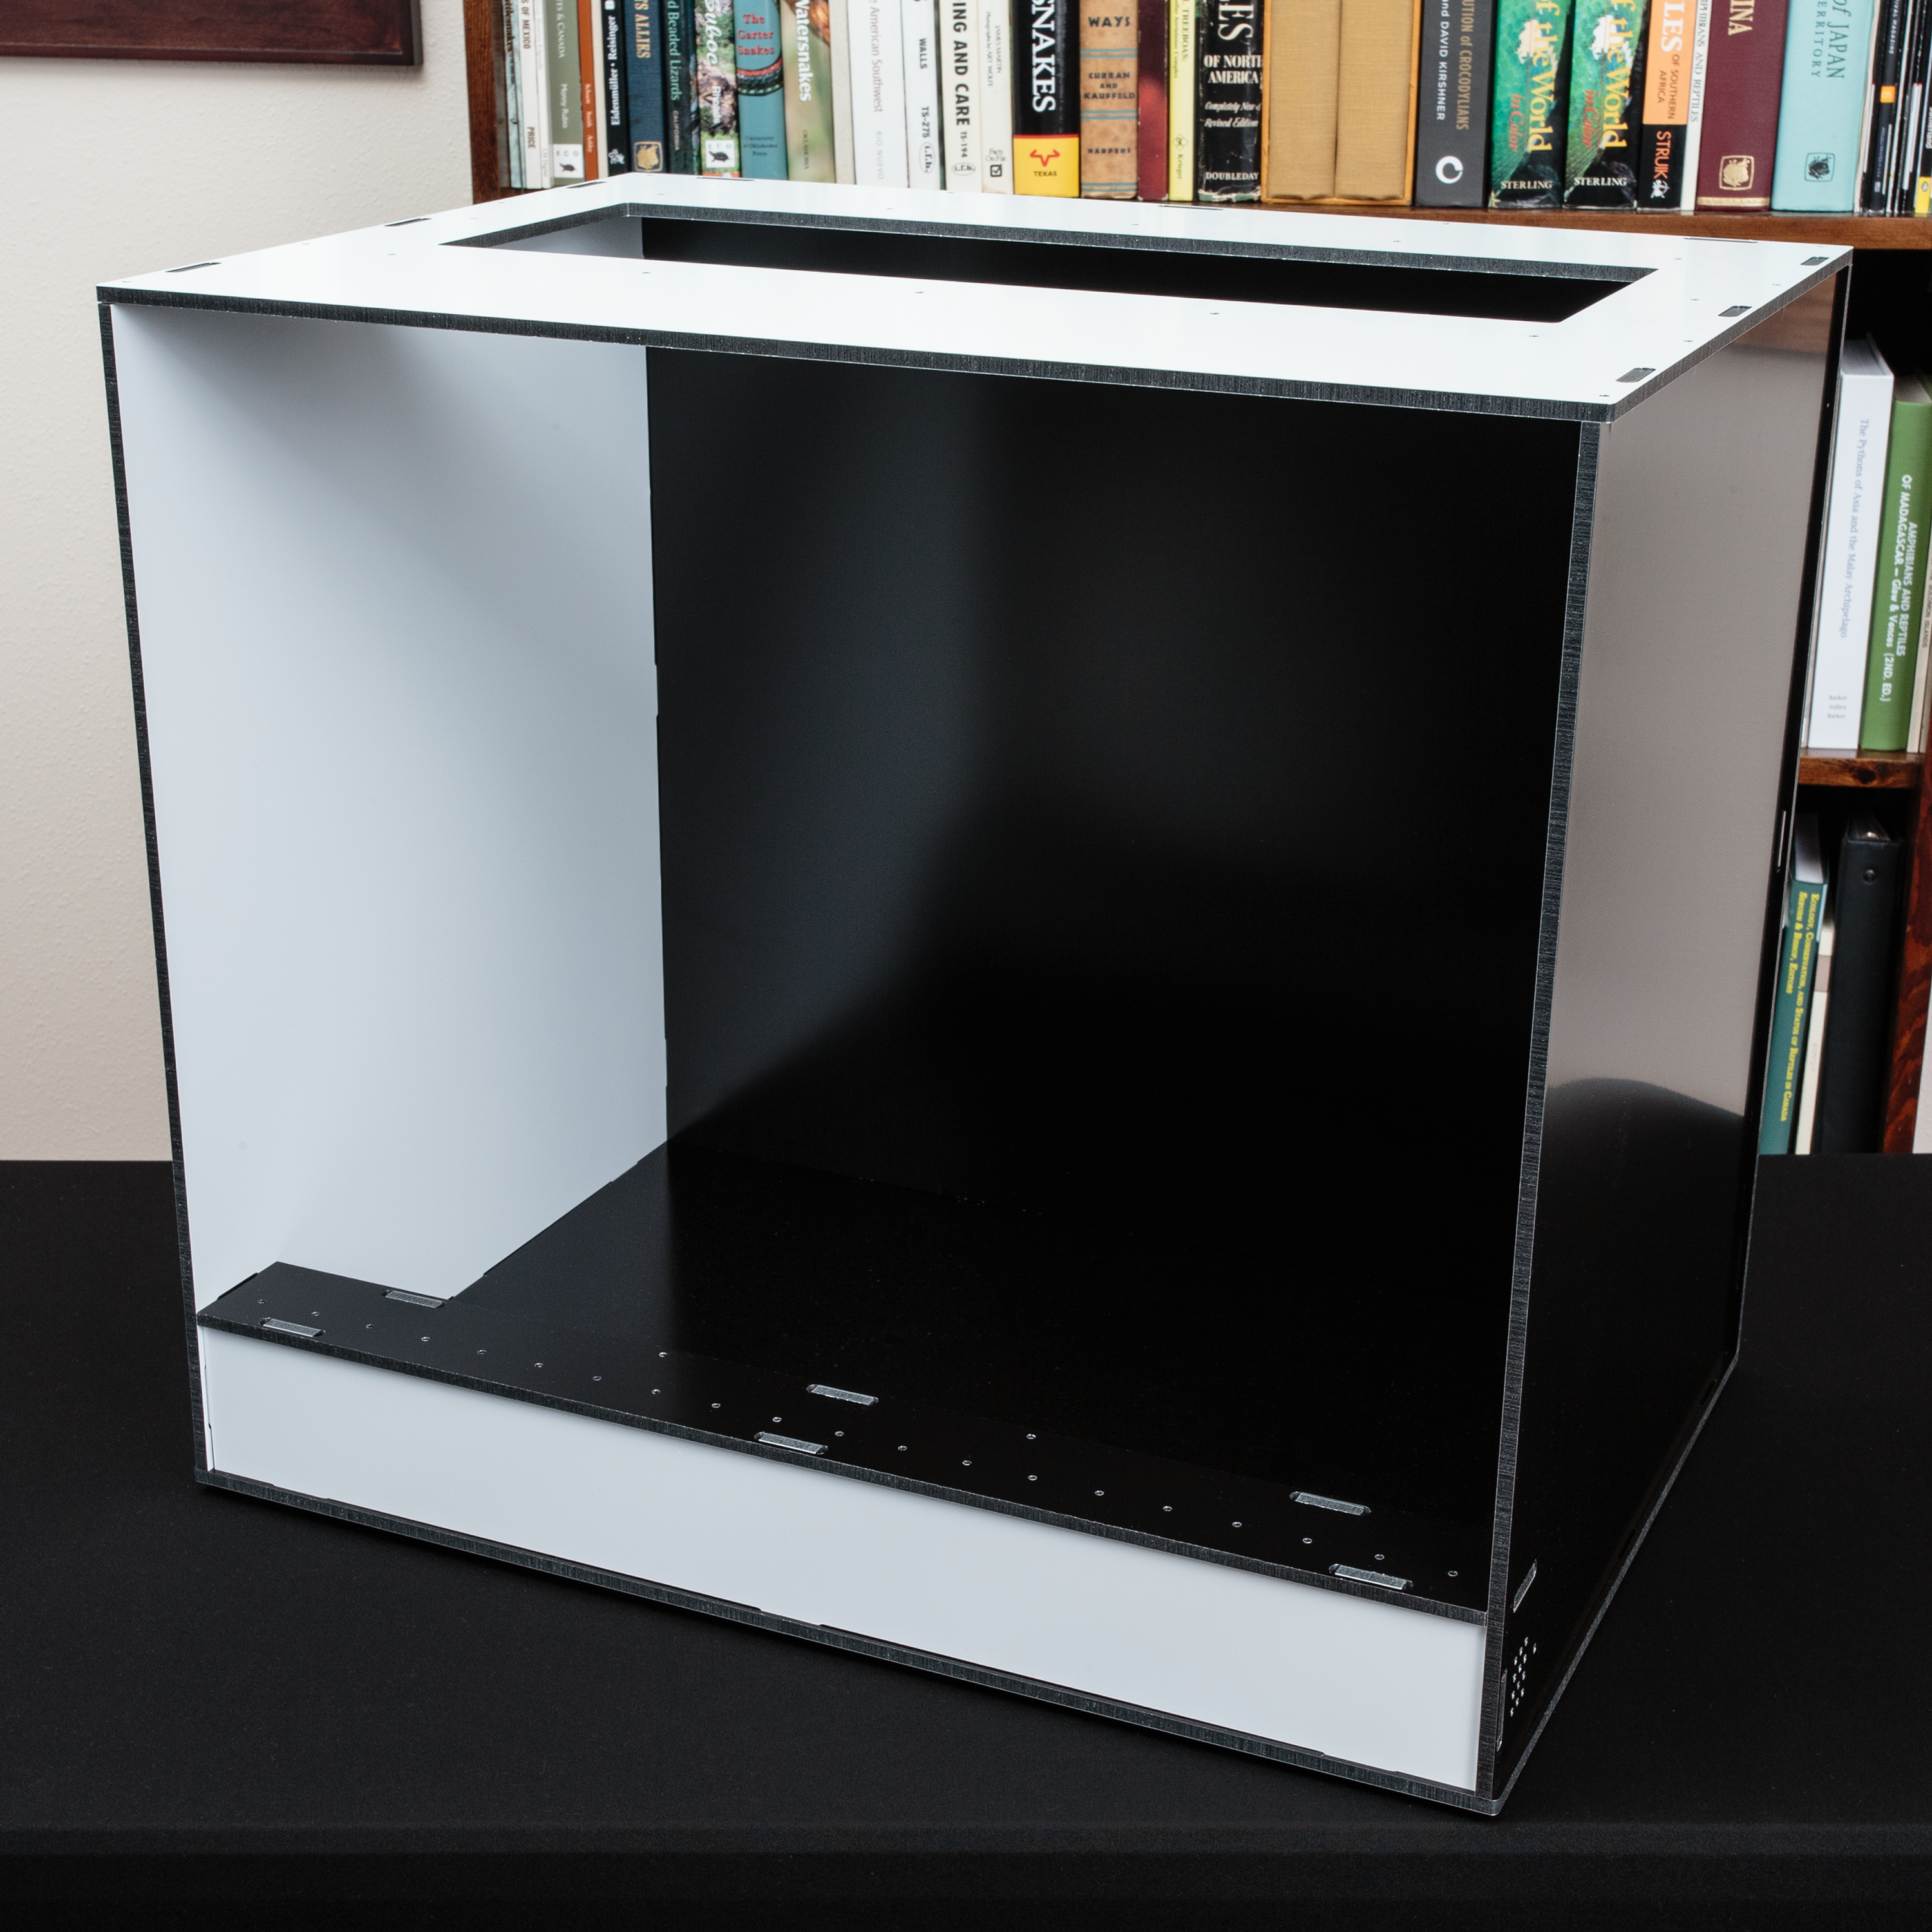
The panels of the Biotope are white on one side and black on the other. All panels/sections are completely reversible. They can be built with white sides facing out, black sides facing out, or any combination in between. While you can certainly assemble and test out different styles, we recommend making a final decision prior to screwing in the panels and attaching the tracks for the glass. Each side of each panel has a protective film that must be removed prior to assembly. The white side has a clear plastic film, while the black side is covered in a white plastic film with blue arrows. The arrows are from the source material and DO NOT have any relevance to the assembly process.
Pro-tip – The protective plastic films can be removed from each sheet just before you use them in the assembly process, allowing the panels to be protected from scratches and marks prior to use.
Getting Started
The only tools needed for assembly are a #2 Phillips-head screwdriver and a pair of pliers or a 1/4″ socket or wrench. A roll of painter’s tape can also be helpful to hold panels together prior to screwing them in.
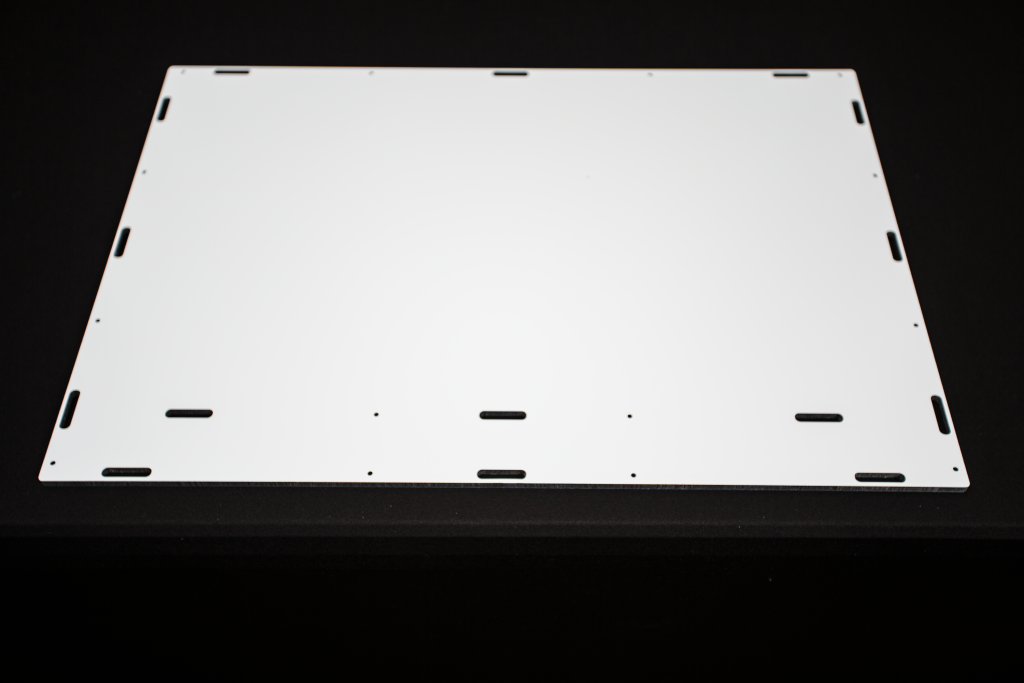
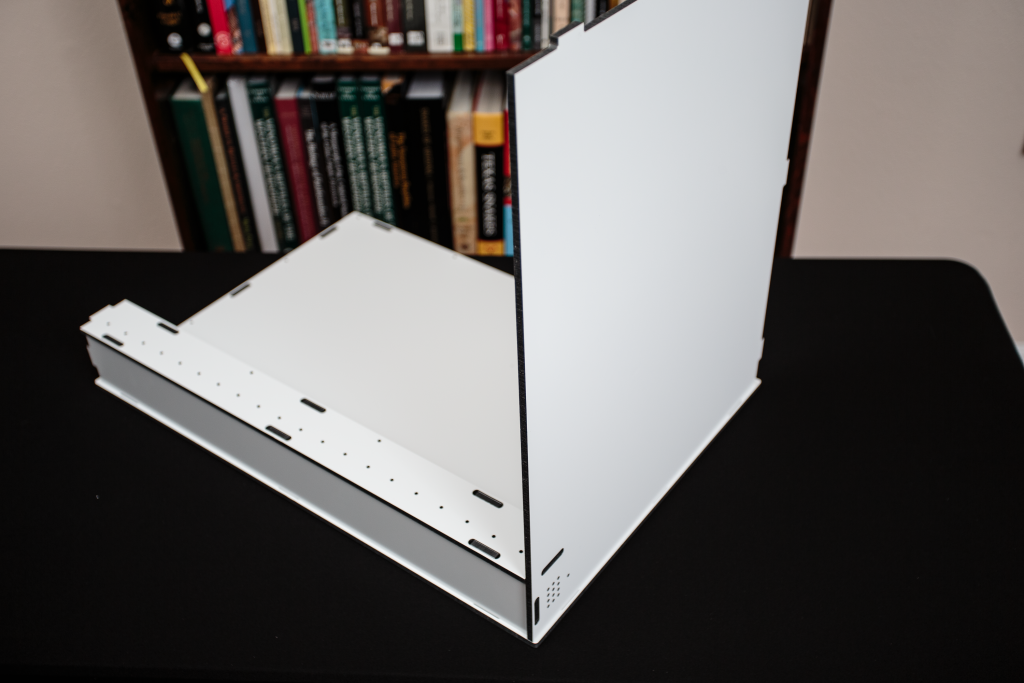
Start by placing the bottom panel on a flat surface.
Pro-tip – Stick four 2-inch pieces of painter’s tape on the bottom of the panel with half of the tape sticking out to attach to the panels we’ll be inserting in the following steps. This will help keep the bottom panel on when we pick up the Biotope to put in the final screws and attach the feet towards the end of assembly.
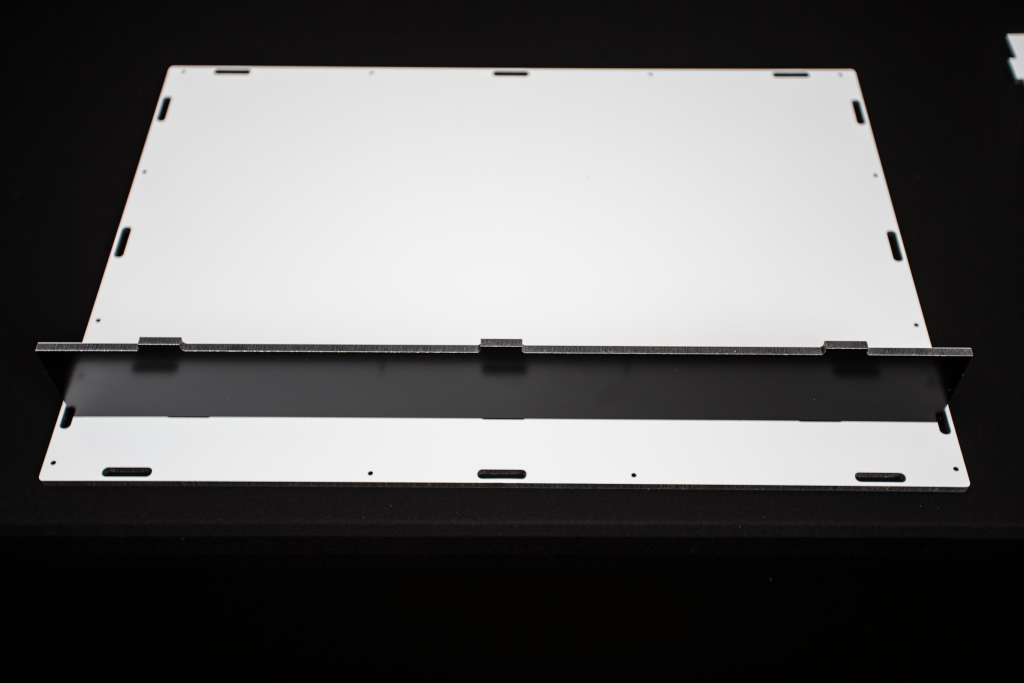
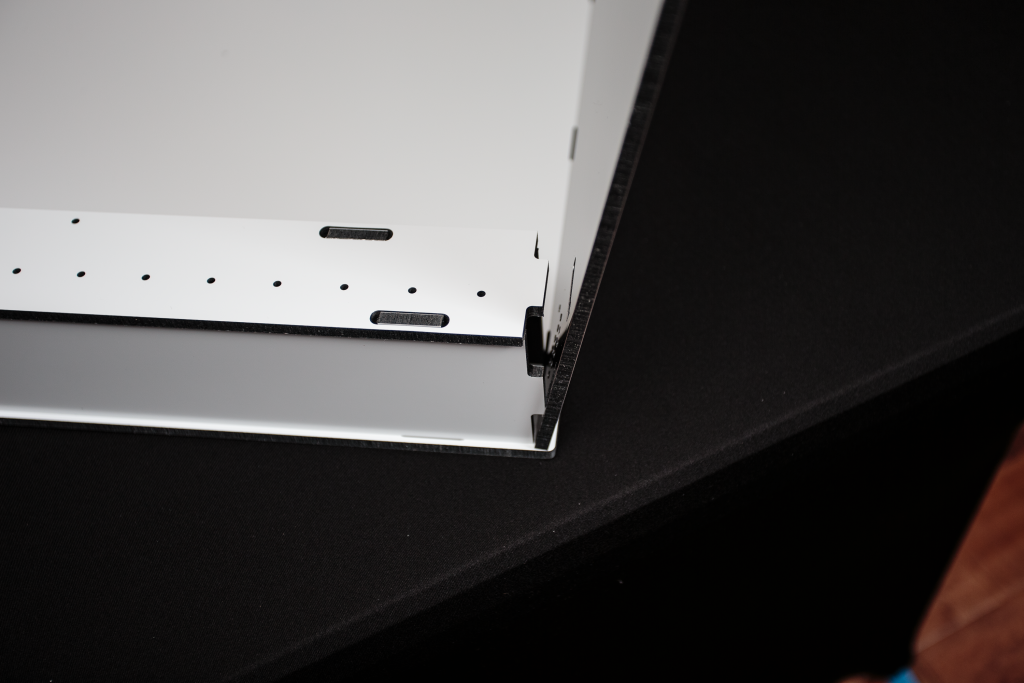
Insert the front and rear air-dam panels in place. Note that these panels are not interchangeable as the tabs are spaced differently. The individual panels are still reversible for color preference.
Pro-tip – The panels should slide into each other with minimal to no force. If they don’t easily slide together, check for alignment and gently “wiggle” the pieces till they fall into place.
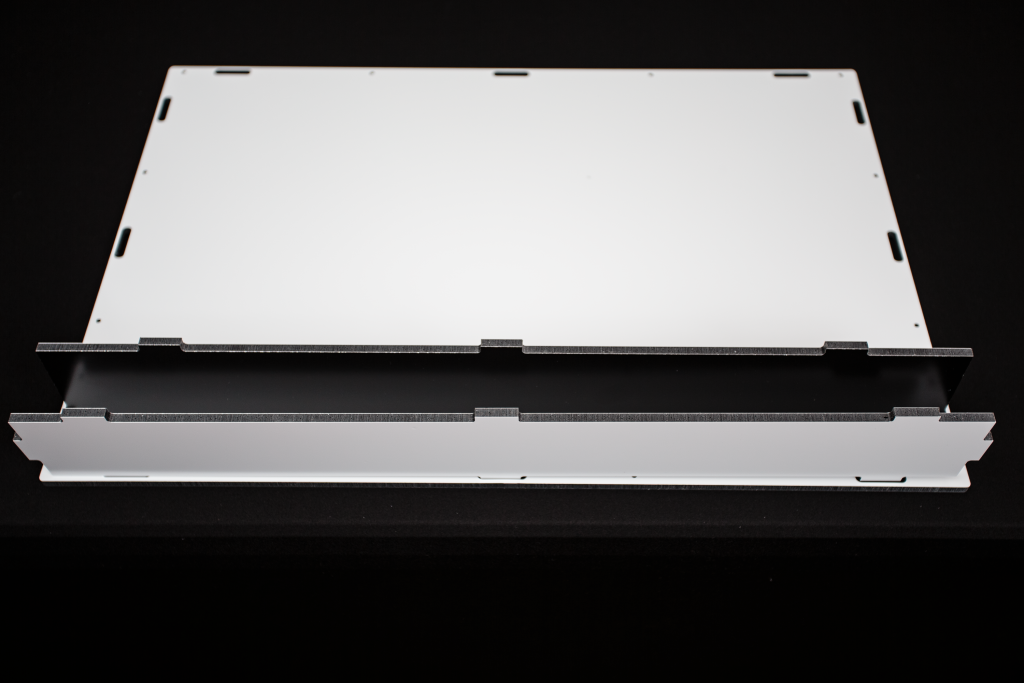
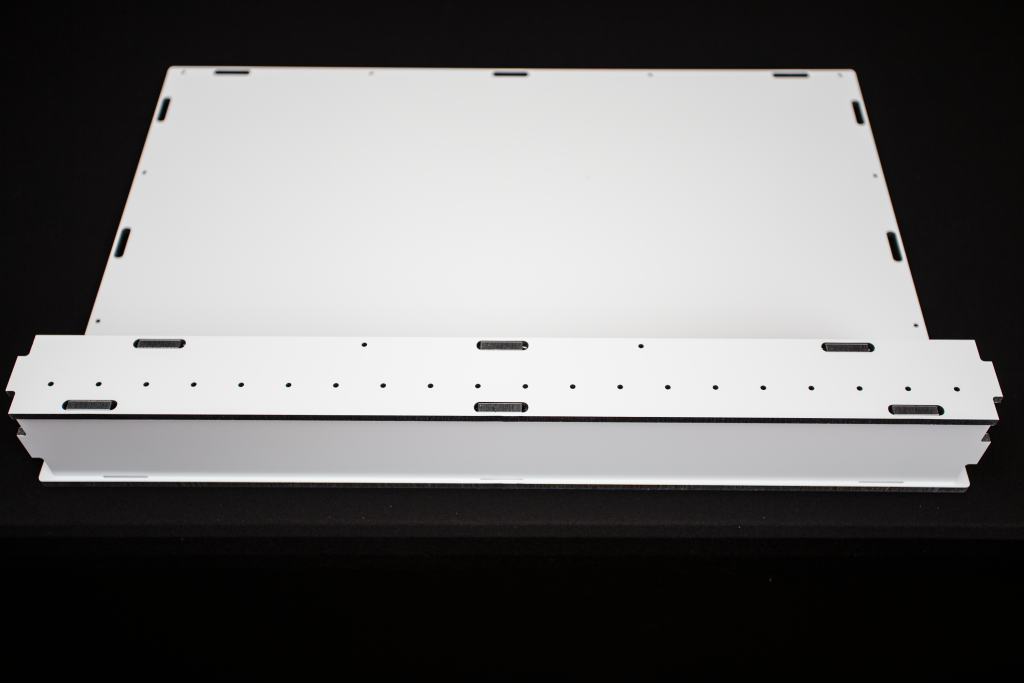
Place the perforated air-dam top panel onto the front and rear air-dam panels to complete the air-dam assembly.
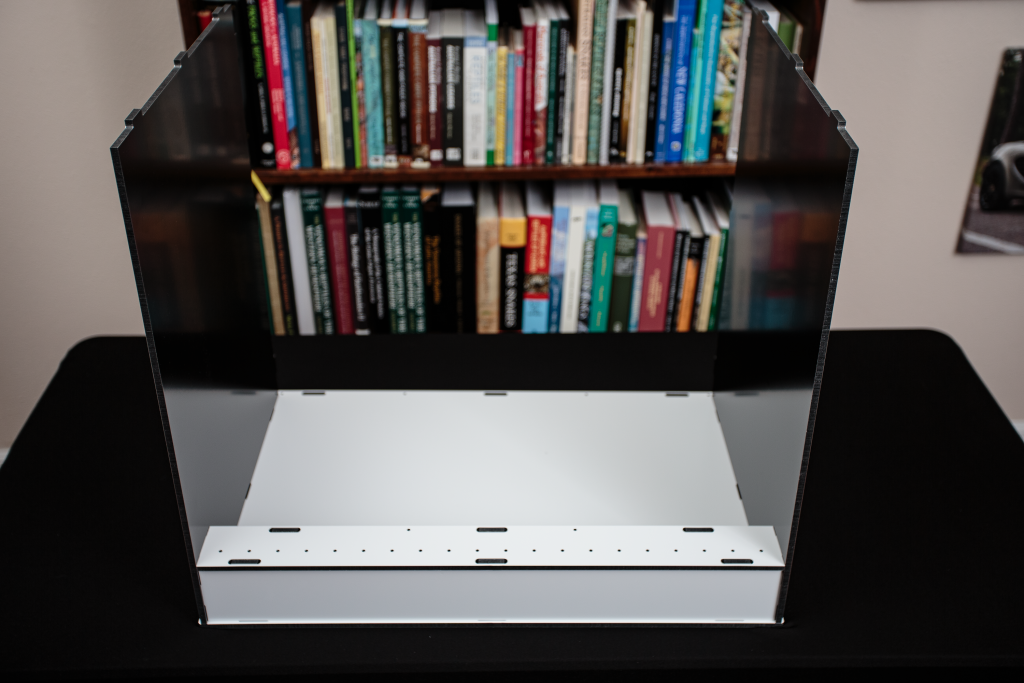
Insert one side panel into the base panel at a slight angle then tilt it upright to connect the side panel to the air-dam assembly. Once fitted, repeat for the other side panel.
Using the same technique of inserting at an angle then tilting into place, install the back panel.
Pro-tip – If you are using the painter’s tape, this is a good time to affix the tape from the bottom panel onto the upright panels inserted into it. A couple of small pieces of tape can also be used to hold the back panel to the side panels.
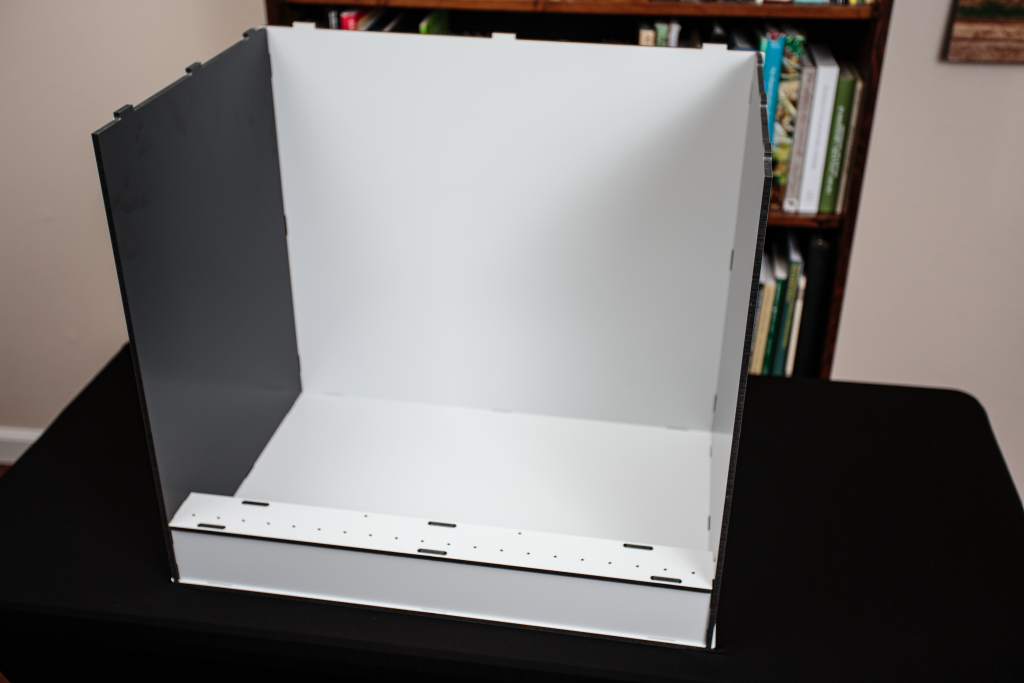
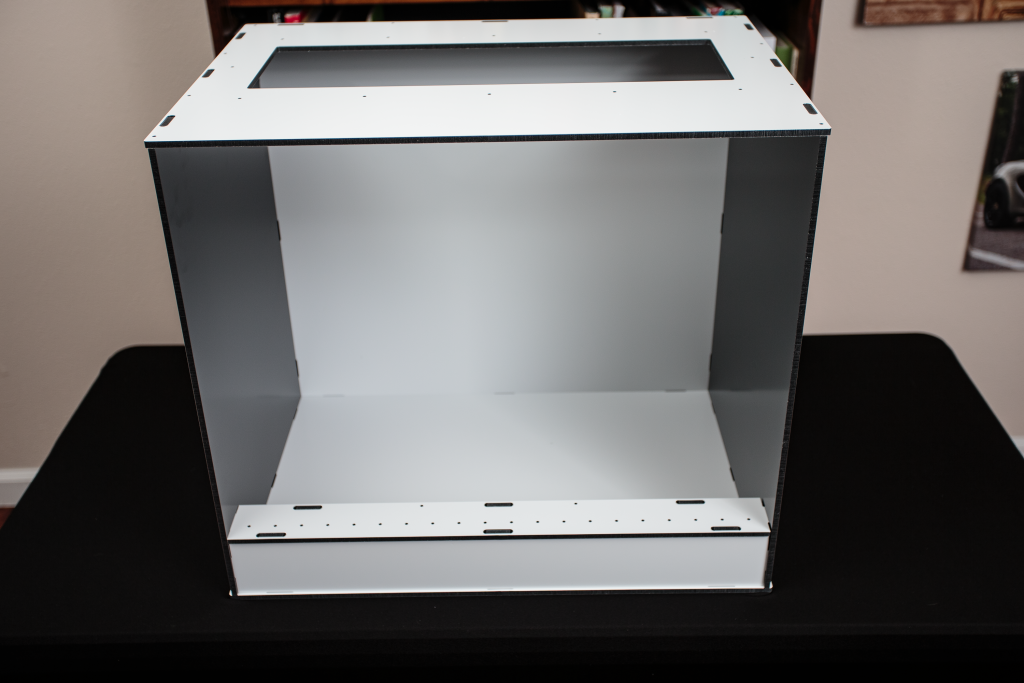
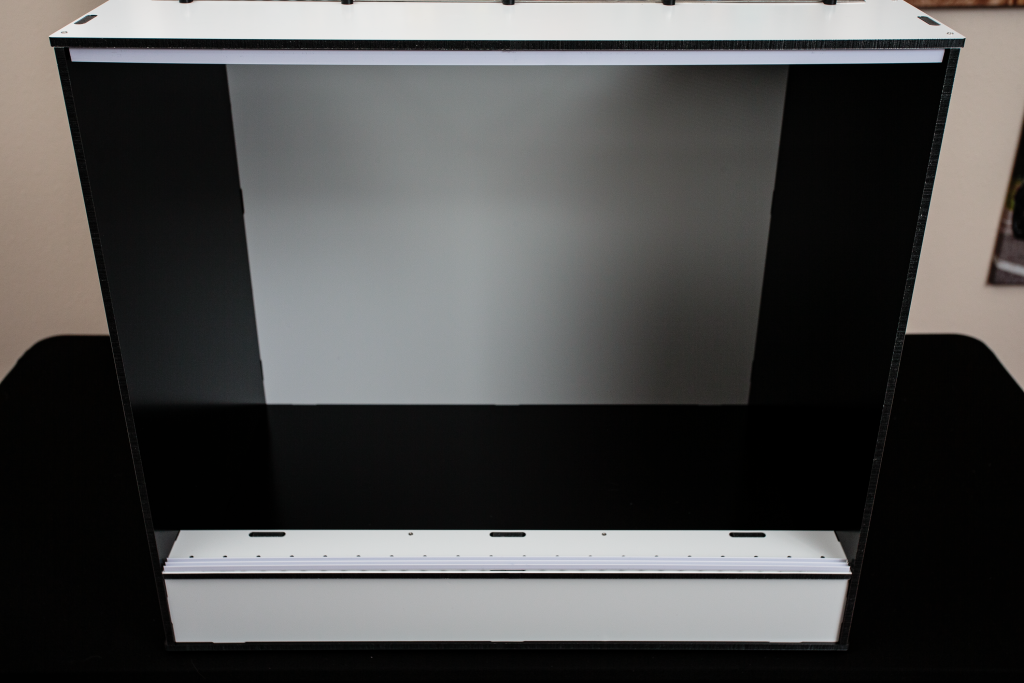
Carefully lining up the top panel and placing it on the assembled Biotope wall panels will nearly complete the Biotope assembly.
At this point, use a screwdriver and the provided screws to screw the panels together, starting from the top panel and working your way down. Only screw in the pre-drilled holes, and just until the screw is snug. DO NOT over-torque the screws. It is not optimal to sink the screws through the aluminum into the insulating material, and you don’t want to strip the screws. Once the top, side/back panels, and air-dam are fixed, carefully tip the Biotope onto its back and screw the bottom panel in.
Pro-tip – We recommend against using power tools to assemble your Biotope. If you choose to do so, ensure you are set at the lowest torque setting that will snug the screws without stripping the screw-hole.
While the Biotope is still resting on the back panel, affix the six adhesive feet. One at each corner and one each at the mid-point of the front and back.
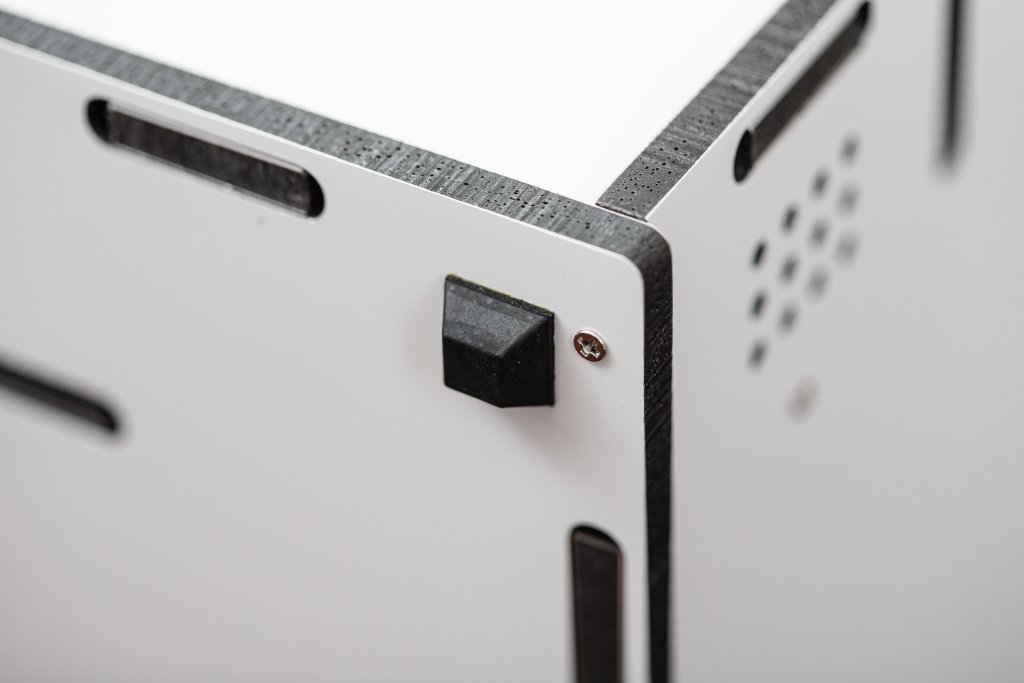
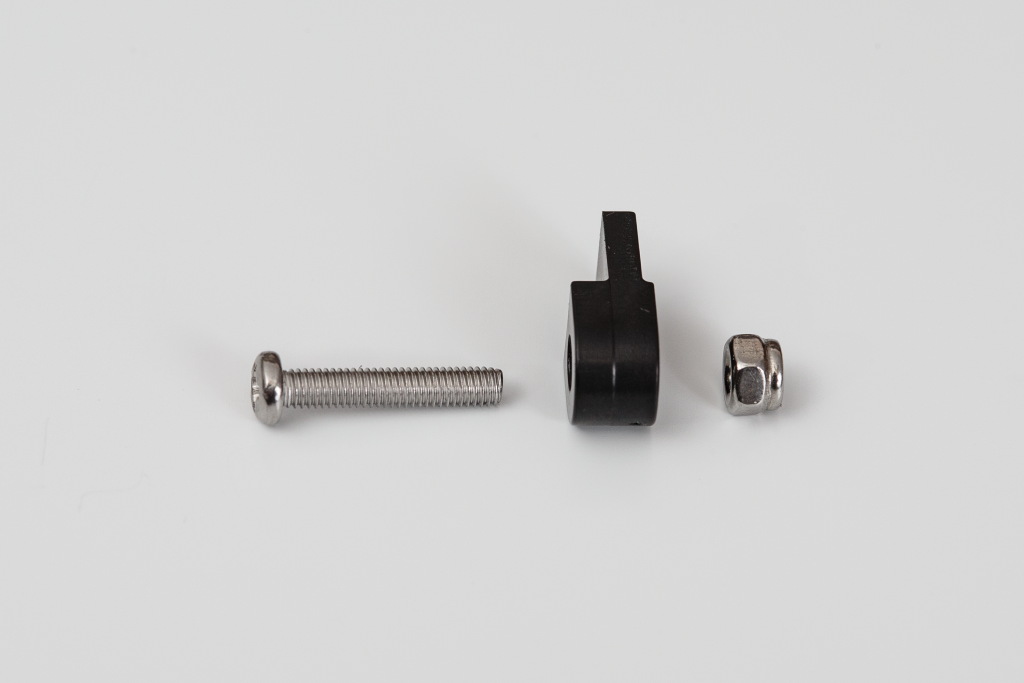
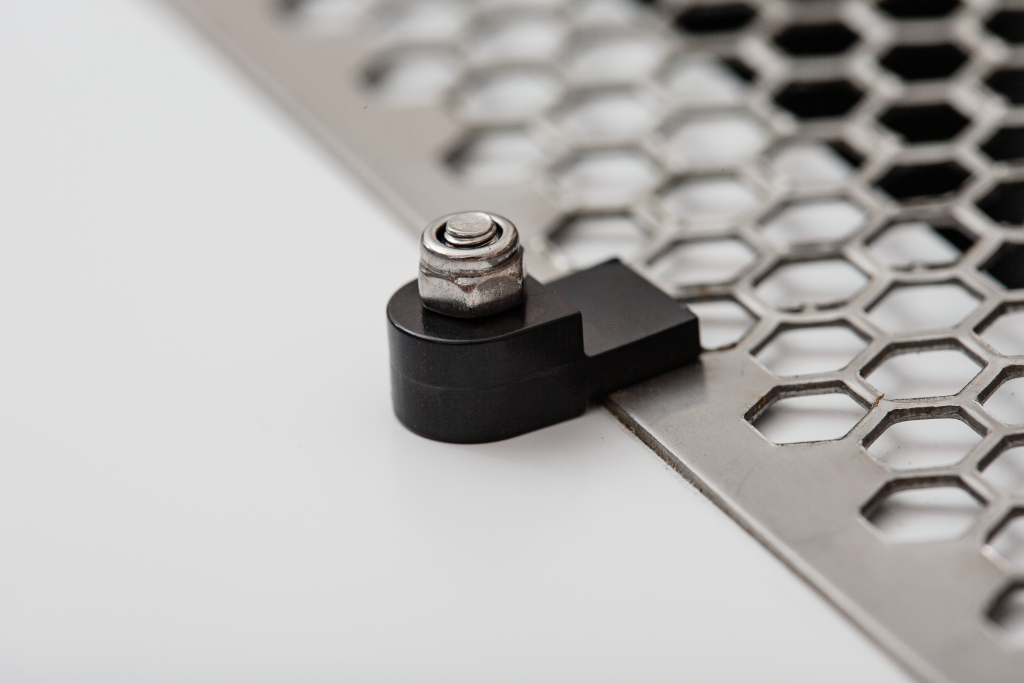
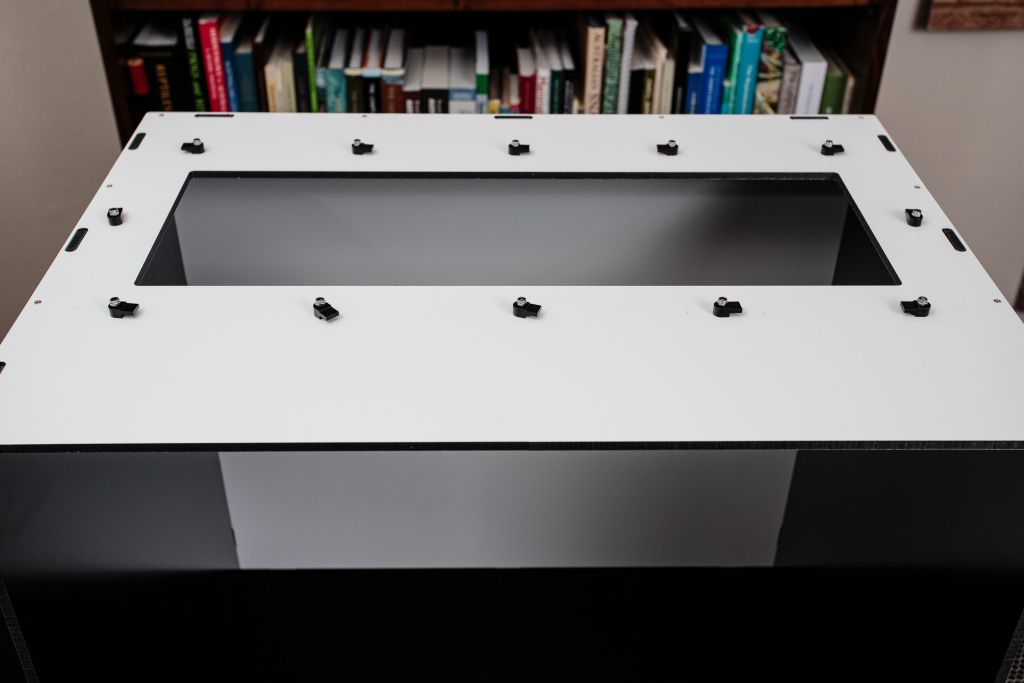
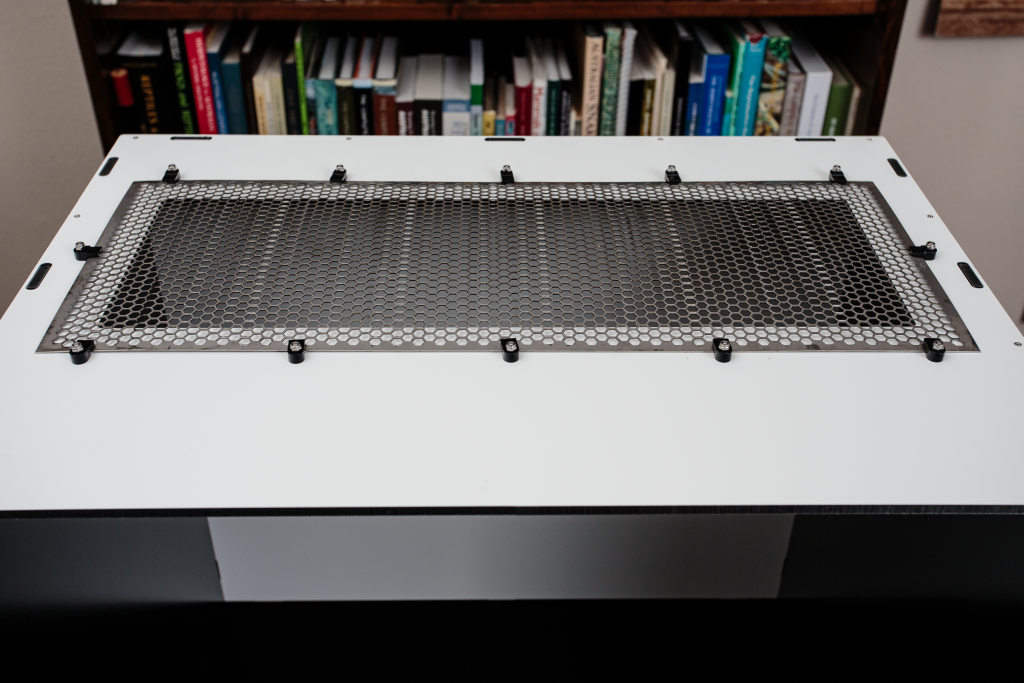
Place the Biotope feet-down and locate the bag of nuts and bolts and the bag of black plastic clips. Note that the clips have two sides. One side provides a gap for an optional top glass, while the other side has less gap to ensure a snug fit with the thinner included metal screen.
Pro-tip – While the screen top is provided, a low-lead glass top is available separately. Alternatively, you can have your own low-lead top glass cut locally. The dimensions are 8″ by 20″ with a thickness of 1/8″. We recommend low-lead for improved UV spectrum pass-through.
Pro-tip – The nut, bolt, and clip assembly can be installed around the hole in the top panel and left loose enough to twist into place after placing the metal screen into position. The clips can all be tightened down afterward.
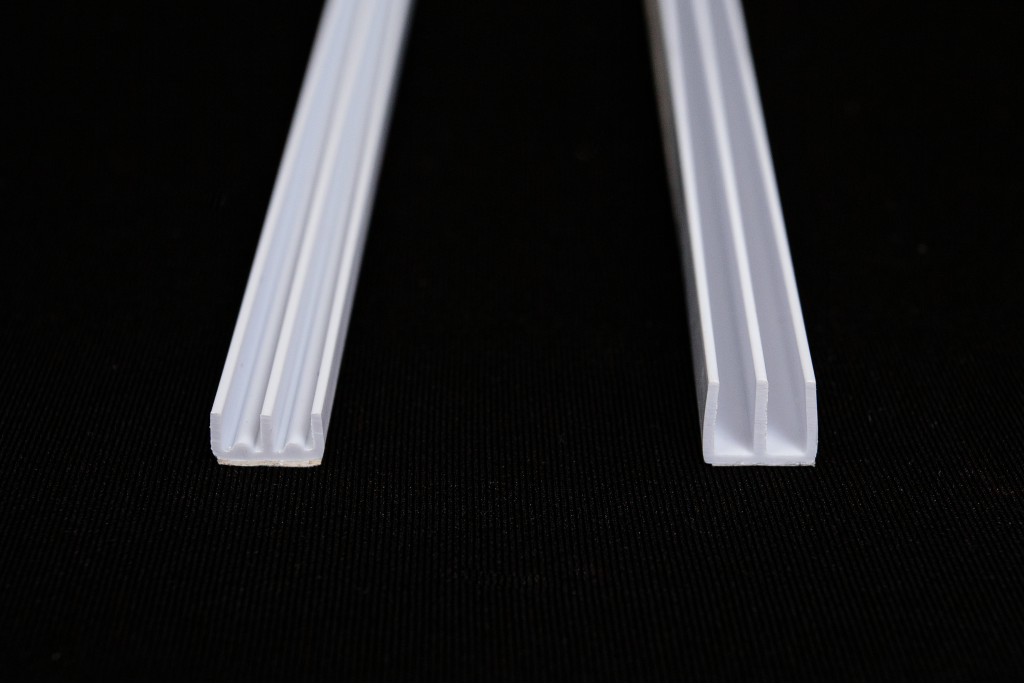
Locate the tracks for the sliding glass. Note that one has shallower tracks than the other. The shallow-tracked rail is the bottom track (on the left in this picture). Ensure the top of the air dam and the bottom front of the Biotope top panel are clean. Peel the protective backing from the adhesive and carefully place the track in front of the air-dam vent holes. Careful placement ensuring the track is parallel to the face of the Biotope will ensure a professional-looking and properly functioning sliding glass front. Remove the backing for the top track and place it directly above the bottom track on the bottom of the top panel. Press the tracks with moderate pressure to ensure proper adhesion.
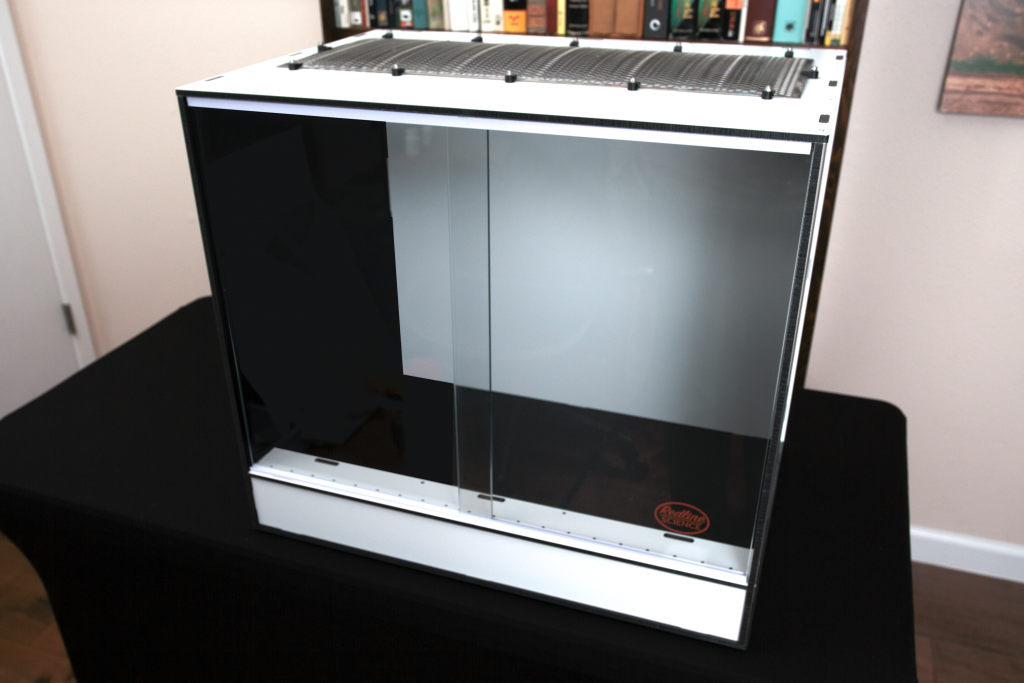
Once the tracks are in place, slide one of the glass panes into the back of the top track and then lower it into the back of the bottom track. Repeat for the second pane into the front top and then bottom tracks, ensuring the Redline Science logo is upright and facing forward.
Pro-tip – You can put a bead of silicone (not-included) on the interior joints to waterproof your Biotope.
Congratulations!
You’ve now completed the assembly of your Redline Science Biotope enclosure! If you love your new Redline Science Biotope, share it with the world and tag us with #RedlineScienceBiotope.
Pro-tip – Note that the panels can be modified using drill bits or hole saws to accommodate interior cage lighting, running power cords, mounting misting nozzles, and/or additional ventilation.
Variations
Some of the color variations available just by reversing the panels during the build.